Temple run 2 Download and Install in PC

Temple run is an endless running video game created by Imangi Studios in 2011. This game was first released in iOS then later released in android, windows mobile. The specialty of this game is the game will never end. It has created a great record, by this June 2015, temple run and its sequel have been downloaded over 1 billion times.

If you are surfing for How to Download Temple run 2 for PC, then you have landed at the right place. Here I am providing the guide for “ How to Download and install Temple run 2 for pc “. Here you can also get Temple run 2 on pc free download.

How to Download & Install Temple run 2 in PC

Temple run is officially released for smartphones but not for computer/laptop. So here we need a software that will run Android apps on our PC windows os(7, 8, xp). The best software to run Android apps on our pc/laptop is bluestacks. So in this post we are using bluestacks software for downloading temple run on pc/laptop. Playing Temple run on pc without bluestacks is not possible.

Temple run 2 free Download for PC

Also See: How to use WhatsApp on PC/Laptop for Windows 7/8/8.1

Steps to Download & Install Temple run/Temple run 2 in PC

1) Download Bluestacks software by Clicking here.

2) After the download of bluestacks completes, install it on your Pc/Laptop. Installation may take some time like 5 minutes.

3) a) If you want to download temple run, older version then download this Temple Run APK file.

b)  If you want to download temple run 2, newer version then download this Temple Run 2 APK file.

4) After the completion of your respective Apk file download, double click on that so that it will install on your pc.

5) Now your temple run/temple run 2 will be installed on your bluestacks. Just open bluestacks and go to ‘My apps’ and there you will find temple run.

Temple run 2 free Download for PC

6) click on that temple run icon to play the game. That’s it!!

How to play Temple Run 2 on your PC: 
In mobile, we use to tap the screen, move our smartphone to play the game. But in PC, we will play temple run by using left-click mouse button. The entire game is played by left-click button only. To jump, to swipe down, to move left or right, etc we should use left-click button.

If you like the article ” Temple run 2 Download and Install in PC “, you can share with friends and fell free to ask doubts.

Also See: How to Backup Android Smartphone easily

How to Sell App in Google Play Store

Do you want to sell app on Google Play store? To sell your android application on the google play store you need a developer account. A normal smartphone user buys an app in very critical conditions, The reason is that there are thousands of apps on the store for free, For example, Swype Keyboard is a Paid App and you need to spend Rs.60 to get it, But Why will someone buy it, when they have free awesome apps like Swift, Google Keyboard. So, If you want to sell, then first of all get a unique and creative idea for your app, if you have one then below are simple steps to sell app  on play store.

To get started first of all you need developer account in google play store, once you have an account in play store then you can upload your apps on the play store. It’s easy, all you need to learn app developing.

4 Simple Steps to Sell App on Google Play store

1. Create your Developer account, To create Go here – Google Play Developer Console. For the first time, you need to pay $25 (Rs.1550) to Google with your Credit/Debit card.

Sell App in Google Play Store

Also See: How to Downgrade from Windows 10 to Windows 8/7

2. The next step is to Learn how to Create an android app, consider reading this Page officially created by google – Building Your First App. The Guide will help you to learn everything step-to-step.

Sell App in Google Play Store

3. Publishing it on The Play store, After you created the full apk file of your android app, go and publish it on the play store console (on which you signed up in first step).

Sell App in Google Play Store

4. Selling the App, in the console dashboard you’ll find option to sell your app and set a price for each install. for example, Riptide GP game is priced at Rs.60, so Rs.60 is per install price. If you don’t want to sell your android, you can also monetize it with various programs like Google AdSense. Ads will be displayed inside the app and then if a user clicks on ads, for each you’ll earn some $$.

Hope now you understand the process of How to sell App on google play store. If you like the article ” How to Sell App on Google Play Store ” share with your friends and feel free to ask doubts.

Also See: How to Backup Android Smartphone easily

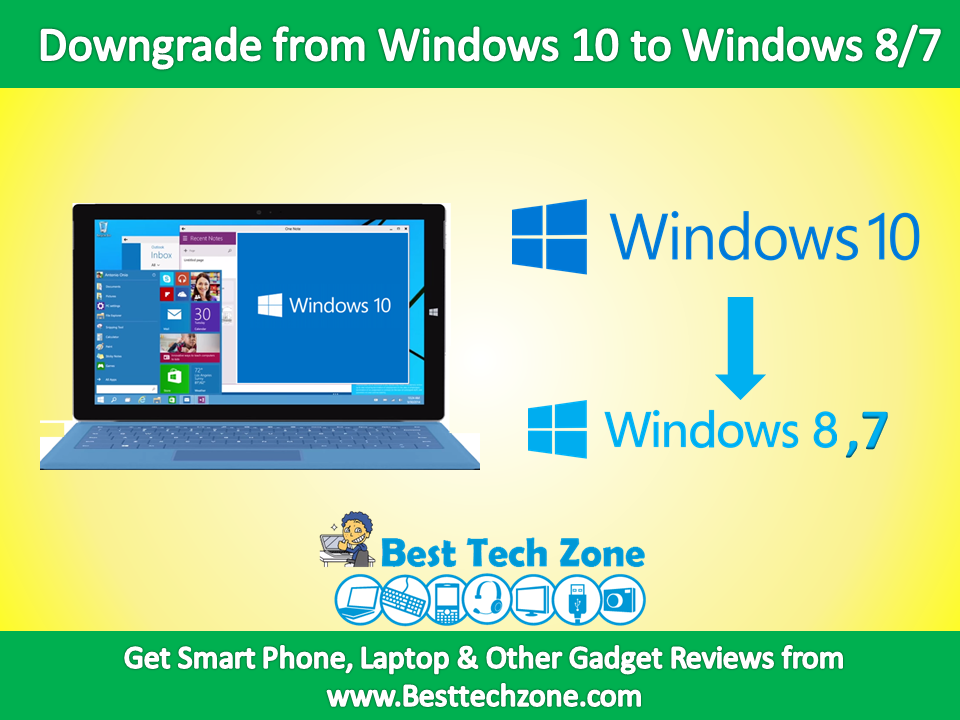
How to Downgrade from Windows 10 to Windows 8/7

When Microsoft launched Windows 10 on July 29th, million of people upgraded their PC from Windows 8/7 to latest Windows 10. Windows 10 brought a slew of neat new changes, features and functionality. There is no rule that everyone must like the latest Windows 10 version. Even there are some people who doesn’t like Windows 10. If you’re among the ones who doesn’t like Windows 10 and wants to downgrade from Windows 10 to an older version of Windows, it’s a surprisingly straightforward process. Unfortunately there’s no automatic system for older versions — you’ll have to back up your files, track down some installation media, and find your software key to get back to your “old” computer.

If you are also surfing for How to Downgrade from Windows 10 to Windows 8, then you have landed at the right place. Here we  are providing the steps for “ How to Downgrade from Windows 10 to Windows 8 free . The users of windows 7 can also follow this same process in order to downgrade from Windows 10 Windows 7 without losing data.

How to Downgrade from Windows 10 to Windows 8/7

Before You Get Started

First of all, before you proceed with the downgrade, make sure you back up whatever information you want to keep, otherwise you may lose some valuable data. You can make a backup on a thumb drive, an external hard drive or by using a cloud storage service. There are several Cloud storage services like Dropbox and OneDrive are available to back up your data. However, if you have any sensitive files to back up, we’d recommend doing so locally on an external hard drive.

Downgrading from Windows 10

When you install Windows 10 as an upgrade on a PC running Windows 7 or Windows 8, the old version of the OS remains stored in a “Windows.old” folder. This folder allows you to restore that previous version directly from Windows 10, without any additional hassle.

To do so, simply click on the Windows Start menu at the bottom left of the screen and access Settings > Update & Security > Recovery. From there on, you’ll see an option to “Go back to Windows 8.1”, if you upgraded from Windows 8.1 If you previously ran Windows 7, you’ll see the option to “Go back to Windows 7.”

Next up, select “Get started” to kick off the downgrade process. Keep in mind that if you’re on a laptop, the option will only work if you connect it to a power source.

Downgrade from Windows 10

Once you’ve selected to proceed with the process, Microsoft will ask you why you decided to downgrade from Windows 10. Write your impressions of the latest OS, then click “Next” to move on with the downgrade. You’ll get several chances to cancel, and you’ll also see a reminder that if your old Windows was password-protected, you’ll need that old password. If you’re determined to go through with the downgrade, all you have to do is click “Next” and have patience.

The whole process should not take longer than 10 minutes or so, and your system will be just as it was before Windows 10.

Hope you understand How to downgrade from Windows 10 to older versions of Windows. If you like the article ” How to Downgrade from Windows 10 to Windows 8/7 “, share with your friends and feel free to ask doubts.

 Also See: Windows 10 for Lumia: which Lumia Phone will get Windows 10 first

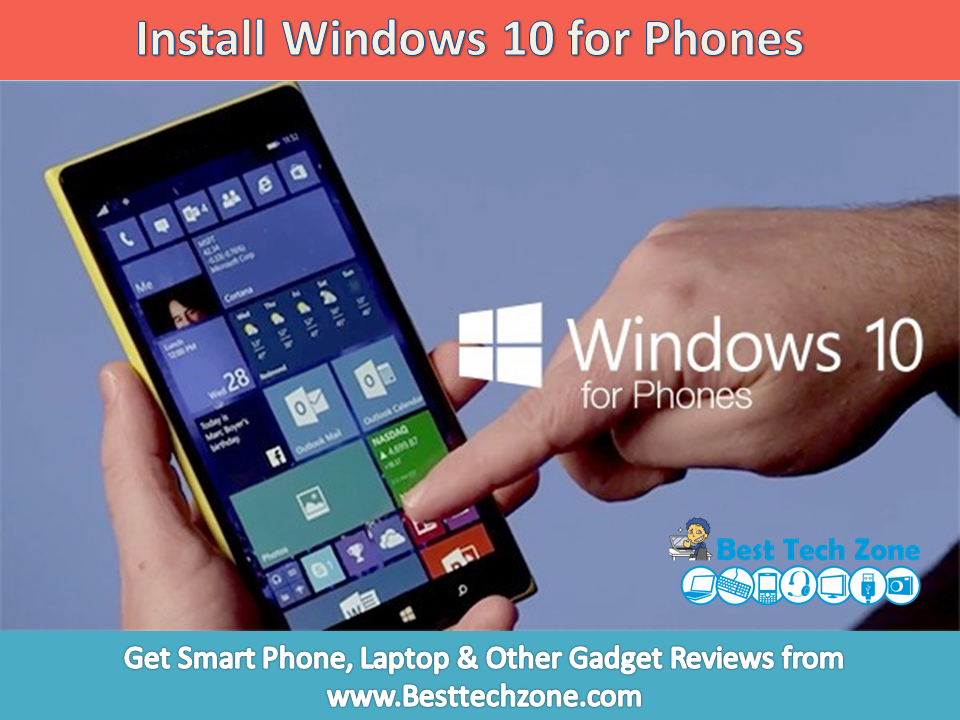
How to Download and Install Windows 10 Technical Preview for Phones

Windows 10 Technical Preview for phones is now available to download. This is a pre-release version of Microsoft’s upcoming mobile operating system. You should only download this if you want to try a new operating system on your Windows Phone device. Here we are providing the steps to install Windows 10 Preview in Phones.

Since this is beta software, many of your favourite apps may not work on it and upgrading to it right now is not recommended on your primary phone as the preview is still very much a work in progress. Windows 10 have the new features include full-size art for the Start screen, more settings in Action Center, interactive notifications, better speech-to-text and an improved Photos app. Future builds will include universal apps versions of Word, Excel and PowerPoint, Mail and Calendar.

Download and install Windows 10 Technical Preview for phones

  • Sign up for the Windows Insider Program, if you haven’t already.

  • Find out if Insider Preview is right for you, and make sure your phone is on the list of supported phones. Prerelease software doesn’t always work as expected, and could cause your phone to stop working permanently.

  • Head to the Store on your Windows Phone device and download the Windows Insider app.

Install Windows 10

Also See: How to create Windows 10 bootable USB Flash Drive

  • Once installed, launch the app and select the ‘get preview builds’ option.
  • You’ll need to enroll on the Windows Insider programme to get preview builds of the software and you have two options, Insider Slow or Insider Fast.Fast will mean you get updates quicker but they have the potential to be more buggy and crash. Meanwhile, the slow option will involve you waiting longer but receiving a more stable build. Microsoft has a list of known issues on the blog post which we linked to at the top of the article.Select the one you prefer and hit the arrow button at the bottom of the screen.
  • Before you can install Windows 10 on your phone you have to accept the terms and conditions of the Insider Programme. Most importantly it could void your warranty and as we mentioned it could be buggy making your device unusable in some ways.We don’t advice installing it on your main phone. If the device is your main phone and you really want to install Windows 10, opt for the Slow Insider option to ensure a more stable build.
  • Once you’ve accepted the terms, simply head to the ‘phone update’ section of the system settings and hit the ‘check for updates’ button.
  • Once the update has downloaded and installed, your phone will reboot and migrate some data. You’ll then be given a ‘success’ message but you’re not quite done. As it says, you can leave the phone plugged into the mains and let it do the rest or head to the Insider app to finish the upgrade.

Install Windows 10

It is not yet clear if the Preview for Developers program needs to be enabled or disabled during this process. We will update this story as more information becomes available.

Depending on how much storage you have on your phone, the update could take upwards of 20 minutes but it will vary. You may also need to update to Windows Phone 8.1 build 14219 first before going to Windows 10 for phone.

Hope you like the article ” How to Download and Install Windows 10  Preview for Phones ” and feel free to ask doubts.

Also See:  How to Download Windows 10 for PC free – 32bit/64 bit

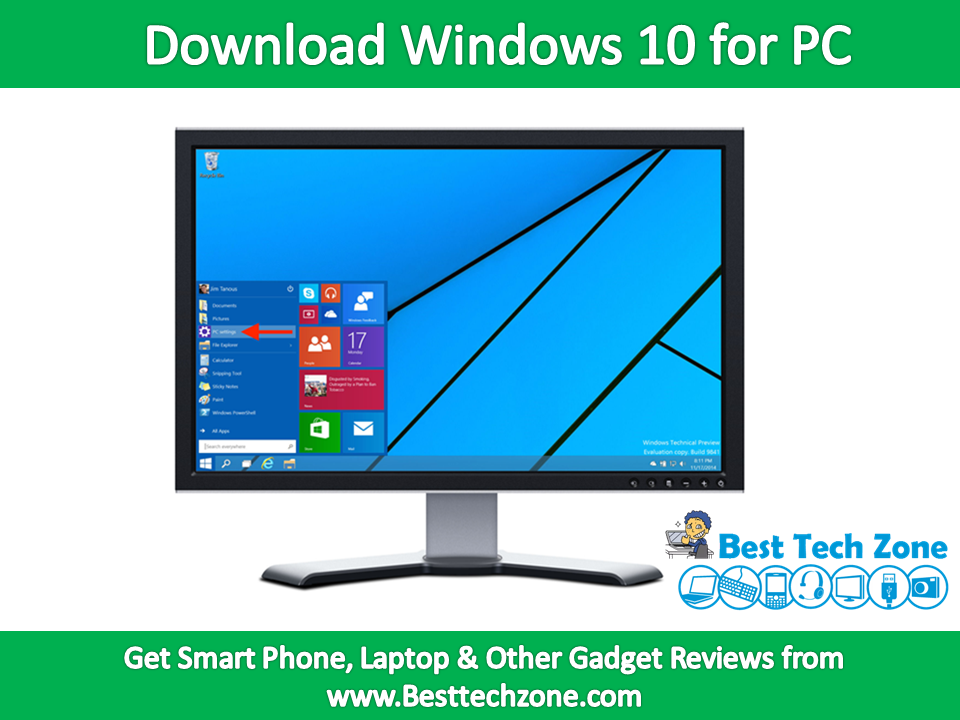
How to Download Windows 10 for PC free – 32bit/64 bit

Finally Microsoft released its new operating system Windows 10 into the market on 29th July 2015. Do you want to Download Windows 10 and install in your PC. Windows 10 is having amazing new features which were missing in its previous versions. If you are surfing for How to Download Windows 10 for your PC, then you have landed at the right place. Here we are providing the steps to free Download Windows 10 full version for PC(both 32 bit & 64 bit).

Download Windows 10 for PC

Download Windows 10 ISO

The surest way to get Windows 10 right away is to head over to Microsoft’s website and download the Windows 10 ISO file. Considering the size of the download, you will need a fast Internet connection to download this file, as well as a blank USB or DVD drive to burn the ISO file so you can run setup on your machine. Visit the Microsoft website for further instructions and license requirements.

Download Windows 10

Upgrade from Windows 7 or Windows 8.1

As mentioned earlier, Windows 10 is a free upgrade if you are running Windows 7 or Windows 8.1. Here’s how you can upgrade:

1. Open Windows Update (search for Windows Update in Start Menu or Start Screen).
2. If your computer is eligible, you’ll see the option to upgrade to Windows 10.

In some cases, like in Windows 7, you may need to first download the SP1 update, before going to Windows 10. Do note that this could take a while.

In case you don’t see any update, you will need to manually reserve a copy of Windows 10. You can do so by following these simple steps. If you can’t wait for the upgrade to show up and don’t mind making some effort, download the Windows 10 ISO as mentioned above and follow those steps to get Windows 10 right away.

If the Windows 10 update does show, your computer will automatically begin to download the new updates and get you to the new operating system. Agree to all Microsoft’s terms in the following prompts.

Also See: How to create Windows 10 bootable USB Flash Drive

Purchase Windows 10 from a retail store (preferred option for Windows XP users)

1. Plug-in the Windows 10 USB drive to your computer or Insert Windows 10 disc to the DVD drive.
2. Reboot your computer.
3. Alter the standard boot preference to boot from your USB or DVD drive. You can do so by pressing the Esc key or F1 key before the booting process begins. It could vary depending on your motherboard manufacturer.
4. Press any key to continue, and select Next on the following screen.
5. Click Install.
6. Select the first option if you prefer to keep your existing operating system and files. Select Custom if you want to replace your system’s existing operating system with Windows 10.

In case if you’re going with the second option, you will need to either install Windows 10 on existing partition, or delete one and then create a new partition first. In either case, you will find the options on your screen. Click Next when you’re done.

Your computer has begin the installation of Windows 10. The process could take a while, so be patient.

If You’re using Windows 10 Developer Preview

You don’t need to do anything. Microsoft will automatically download the latest update to your system and move you to the latest version of Windows 10.

If you feel that the article “ How to Download Windows 10 for PC free ” is helpful, you can share it with your friends and feel free to ask doubts.

How to use Android Phone as Wifi Hotspot

In this present technology world we can’t live even a single minute without a smartphone having internet connection. Do you ever heard about mobile phone Wifi hotspot? You can use the internet data of one mobile device from another devices like smartphones, Laptops and Tablets e.t.c.  With the help of this smartphone wifi hotspot we can enjoy the internet freely.

Most of the android phone users may know about this wifi hotspot on Android but they don’t know how to do it practically. If you are also surfing for how to use Android phone as wifi hotspot, then  you have landed at the right place. Here we are providing the guide to “ How to make Android phone as Wifi hotspot ”.

How to use Android Phone as Wifi Hotspot

As unlimited data plans and LTE become more common and we lead increasingly mobile lives, it’s good to know a solid internet connection for your laptop is never further away than your pocket. It’s surprisingly simple to set up, and once you’ve used it a couple of times you’ll wonder why you ever thought an actual Wi-Fi hotspot was ever necessary.

use Android Phone as Wifi Hotspot

Just go to Settings > More > Tethering and Portable Hotspot. Here you’ll find a bunch of options you’ve probably never looked at before. The first entry, USB Tethering allows you to use your Nexus 5’s data connection with a USB cable. This means you can charge your phone at the same time as sharing a stable data connection with, say, your laptop. It will most likely be grayed out but when you connect your phone to another device or computer via USB, it’ll become available.

use Android Phone as Wifi Hotspot
Also Read: How to Move Apps to SD Card from internal storage


At the bottom, there’s Bluetooth Tethering, which is basically the same thing as above, but using Bluetooth to connect instead. Of course, these kinds of tethering also allow you to transfer data and other files over the USB or Bluetooth connection. Naturally, in the second instance you’ll need Bluetooth switched on and paired to another device to share your internet via this connection type.

use Android Phone as Wifi Hotspot
In the middle are the main events: Portable Wi-Fi Hotspot and Set Up Wi-Fi Hotspot. If you don’t want to use the default setup (or have no idea what the portable hotspot will even be called), then you’ll want to go into Set Up Wi-Fi Hotspot first. The default values are AndroidAP with a password you can write down to share with another device. You can rename the connection or change the password however you like. Once you’ve got your Wi-Fi Hotspot set up, just tap that other check box next to Portable Wi-Fi Hotspot and share away. Simply look for that network name in your other device’s Wi-Fi connections list and log on.

If you like the article How to use Android Phone as Wifi Hotspot “, you can share with your friends and feel free to ask doubts.

Also Read: How to Backup Android Smartphone easily

How to Move Apps to SD Card from internal storage

Are your apps taking up too much ROM on your phone’s internal storage? Do you want to move apps from internal storage to SD Card? Then you have landed at the right place. Most of the android mobile users don’t know how to move apps to SD Card from Internal storage. So many Android phone users think that they couldn’t install new apps if the phone memory is filled. But it is a false belief, there is a possibility that we can move apps to SD Card from phone memory.

For the sake of those android mobile users who have been suffering with lack of internal storage, here we are providing the guide lines to “ How to move apps internal SD to External SD “. Follow the below steps to move apps to SD Card to free up your Android phone internal storage.

How to Move Apps to SD Card from internal storage

1. Open Settings. You can access Settings from the icon on your Home screen, app drawer or from your phone’s Menu button.

move apps to SD card from internal storage

2. Tap Applications, Apps, or Application Manager. You may need to scroll down to find it. The label changes depending on the phone and version you are using.

move apps to SD card from internal storage

3. Tap Manage Applications. If you are using Android 2.2, you will need to tap this to open your Applications list. If you are running a later version, you will already see your list of apps.

move apps to SD card from internal storage

4. Select an App. Tap on the app that you want to move to SD card. Look for a button that says “Move to SD Card”. Tap it to move the app. If the button is greyed out, the app does not support moving to the SD card. If the button is missing your version of Android and your phone do not support moving apps to the SD card.

  • Remember, an app has to be specifically designed to allow being moved to an SD card in order for this option to be available.

move apps to SD card from internal storage

Download an app mover. You can download apps such as Link2SD that will allow you to quickly see which of your apps can be moved to the SD card, saving you the time of going through each app one by one. These apps may even be able to move apps that don’t normally support being moved, though this may cause issues when you run them.

Most of the people think that we have to root our Android phone to move apps from internal memory to SD Card. But it is possible that we can also move apps phone memory to SD Card from without rooting our Android phone.

If you like the article How to Move Apps to SD Card from phone internal storage “, you can share with your friends and feel free to ask doubts.

Also See: How to Backup Android Smartphone easily