Let’s cut to the chase: As someone who’s spent the last 12 years working in waterproof coating supply—walking job sites, answering 3 a.m. calls from homeowners who missed a rainstorm, and talking contractors through misapplication messes—I get it. When your basement wall starts seeping, or your patio is leaving water spots that won’t buff out, the first thought isn’t “call a pro.” It’s “Can I knock this out myself and save a few hundred bucks?” I’m not here to tell you it’s impossible, but I am here to tell you it’s not as simple as grabbing a bucket of sealant from the hardware store and slapping it on like a DIY project you saw on TikTok. Waterproof Coating
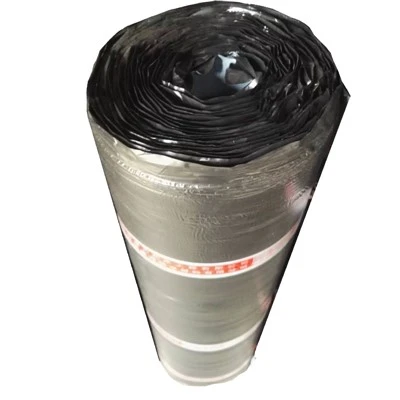
First, let’s ground this in what actually makes waterproof coating work (or not work)—because that’s the part most DIY guides skip. Waterproofing isn’t just a topical seal; it’s a membrane that bonds to your substrate (concrete, wood, masonry, whatever’s under it) to stop water from moving through tiny cracks, pores, or gaps. The key here is prep: if you skip prep, even the best industrial-grade coating we supply will peel, crack, or fail in 6 months, not the 10+ years it’s rated for. I’ve seen a homeowner use a $20 bucket of DIY coating on their foundation, only to have it bubble off when they sprayed their hose to test it. Why? They pressure-washed the wall once, didn’t let it dry for 48 hours, and tried to coat a surface that still had residual moisture. That’s a rookie mistake, and it’s why so many people swear DIY waterproofing “never works.”
That said, small, targeted projects can be DIY-friendly—if you know what you’re getting into. Let’s break down the projects where a homeowner with basic tools (a caulk gun, roller, putty knife, a drill with a mixing paddle) can pull it off, vs. the ones you should absolutely not touch without a pro.
First, the DIY-worthy projects: Minor, non-structural repairs. Think sealing small cracks (less than 1/8 inch wide) in basement cinder blocks, or resurfacing a small concrete patio (under 100 square feet) that only gets light rain exposure. For these, a self-leveling, water-based acrylic coating (the kind we supply for small, residential jobs) works great. It’s flexible, easy to mix, and doesn’t require fancy ventilation compared to solvent-based products. But here’s the fine print: You can’t skip the step of cleaning the surface. I tell every customer, whether they’re a pro or a weekend warrior: Start with a wire brush to scrape off loose mortar, then a concrete etcher to etch the surface so the coating can grip. Rinse thoroughly, then wait until it’s completely dry—no damp spots, no dew, no rain forecast for 24 hours before and after you apply. I’ve had a customer last month text me at 7 a.m. saying “I think I messed up—my coating is tacky.” He’d applied it the night before, when the humidity was 85% and the wall had just stopped sweating. That’s not the coating’s fault—it’s his timing.
Now, the projects where DIY is a bad idea: Structural areas, large surfaces, or anything that sees heavy water exposure. Basement foundation walls that are actively seeping (not just sweating), roof coatings, deck waterproofing, or any area that will be submerged (like a small pond liner or a pool skimmer box). These need a membrane that can handle hydrostatic pressure, which is way stronger than a garden hose. Last year, a guy tried to waterproof his 800-square-foot basement foundation with two buckets of DIY acrylic coating. Six months later, the wall pushed through the coating because the hydrostatic pressure from the water table behind it was too much. He ended up paying $3,000 for a professional-applied polyurethane coating—way more than the $120 he saved by DIYing the first time. For these jobs, the expertise isn’t just in applying the coating—it’s in diagnosing where the water is coming from, fixing drainage issues, and mixing and applying the right product for the pressure. We supply professional-grade coatings for these jobs, but we always tell the customer to bring in a licensed waterproofing contractor for installation.
Wait, but let’s address the elephant in the room: Why would a coating supplier say DIY isn’t always a good idea? Because our reputation depends on our products working—and on our customers not wasting money on a bad job. I’ve had people come to me after a DIY fail, ready to buy 5 buckets of coating to “fix it,” only to realize the root problem was the initial prep. A pro would have caught that the first time. Also, liability: If your DIY coating fails and causes mold in your basement, or structural damage to your home, that’s on you. We don’t want to see our products contribute to that.
Now, if you’re still set on trying DIY—what’s the right way to do it, so you don’t end up wasting time and money? Let’s lay out a step-by-step that I give to every DIY customer who calls my team:
-
Test the surface for moisture. Grab a piece of plastic sheeting (about 2×2 feet) and tape it to the wall or floor with all four edges. Leave it for 24 hours. If the underside of the plastic is damp, you have too much moisture in the substrate—DIY coating won’t stick. You’ll need to fix that first (maybe use a dehumidifier, or install a vapor barrier). If it’s dry, move to step two.
-
Clean, clean, clean. No shortcuts here. Scrape off all loose material, etch the surface (for concrete, use a muriatic acid solution diluted per the product instructions; for masonry, use a concrete cleaner), rinse thoroughly, and let it dry completely. This is 50% of the job, and the most important part.
-
Choose the right product. Don’t grab the cheapest bucket at the hardware store. Ask us for a DIY-specific waterproof coating—we formulate these to be forgiving of common DIY mistakes, like slight humidity or small surface imperfections, while still being durable for small jobs. For example, our water-based acrylic DIY coating is low-odor, easy to mix, and has a 10-year warranty for residential small jobs, compared to our industrial-grade polyurethane for large structural jobs.
-
Apply it correctly. Use a roller for large, flat areas, and a brush for edges and cracks. Apply two thin coats, not one thick coat. Wait 24 hours between coats, and make sure the surface is completely dry before applying the next one. If it’s too thick, it will crack as it dries.
-
Test it. Once the final coat is dry (usually 72 hours), spray it with a garden hose or pour a bucket of water on it. If it beads up and doesn’t seep through, you did it right. If it absorbs water or shows damp spots, you missed a spot or the coating didn’t bond.
Now, let’s talk about when it’s worth it to just hire a pro. I’ve seen homeowners try to waterproof a large patio (over 200 square feet) only to have the coating peel off after the first winter because they didn’t account for freeze-thaw cycles. Pros know which coatings are flexible enough to handle temperature changes, how to slope a patio for drainage, and how to fix issues like uneven concrete before applying coating. For jobs that are larger than 100 square feet, or involve structural elements, I always recommend bringing in a licensed waterproofing contractor.
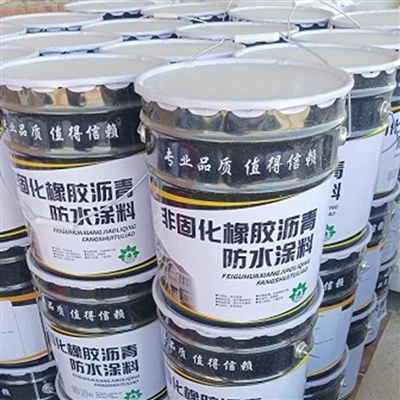
But here’s the thing: We don’t want to turn anyone away. If you’ve got a small project, the right product, and the time to do it correctly, DIY can save you money. We supply the materials you need, and our team is here to answer any questions you have—whether it’s about prep, product selection, or application. We’ve helped hundreds of homeowners tackle small waterproofing jobs on their own, and seen them come back later to buy professional coatings for bigger projects when they’re ready.
Waterproof Coating If you’re not sure whether your project is DIY-friendly, or you’re ready to get the right coating for your job, reach out to our team to discuss your specific needs. We can walk you through what product works best, answer any questions about application, and make sure you have everything you need to get the job done right—whether you’re doing it yourself or hiring a pro.
References
- American Society of Home Inspectors. (2022). Waterproofing for Residential Structures: Best Practices.
- International Code Council. (2021). Residential Building Code: Waterproofing Requirements for Foundations and Exterior Surfaces.
- National Ready Mixed Concrete Association. (2020). Surface Preparation for Coatings: A Guide for Residential Applications.
- Waterproofing Industry Association. (2023). DIY Waterproofing: Risks and Best Practices for Small Residential Projects.
Dingzhou Jiarun Jianhai Waterproof Materials Co., Ltd.
As one of the most professional waterproof coating manufacturers and suppliers in China, we offer a wide range of products with superior quality. Please feel free to wholesale customized waterproof coating made in China here from our factory. Also, pricelist is available.
Address: Shijiatuan, Mingyuedian Town, Dingzhou City, Baoding City, Hebei Province
E-mail: Jrjh16888@163.com
WebSite: https://www.jrjhwp.com/
